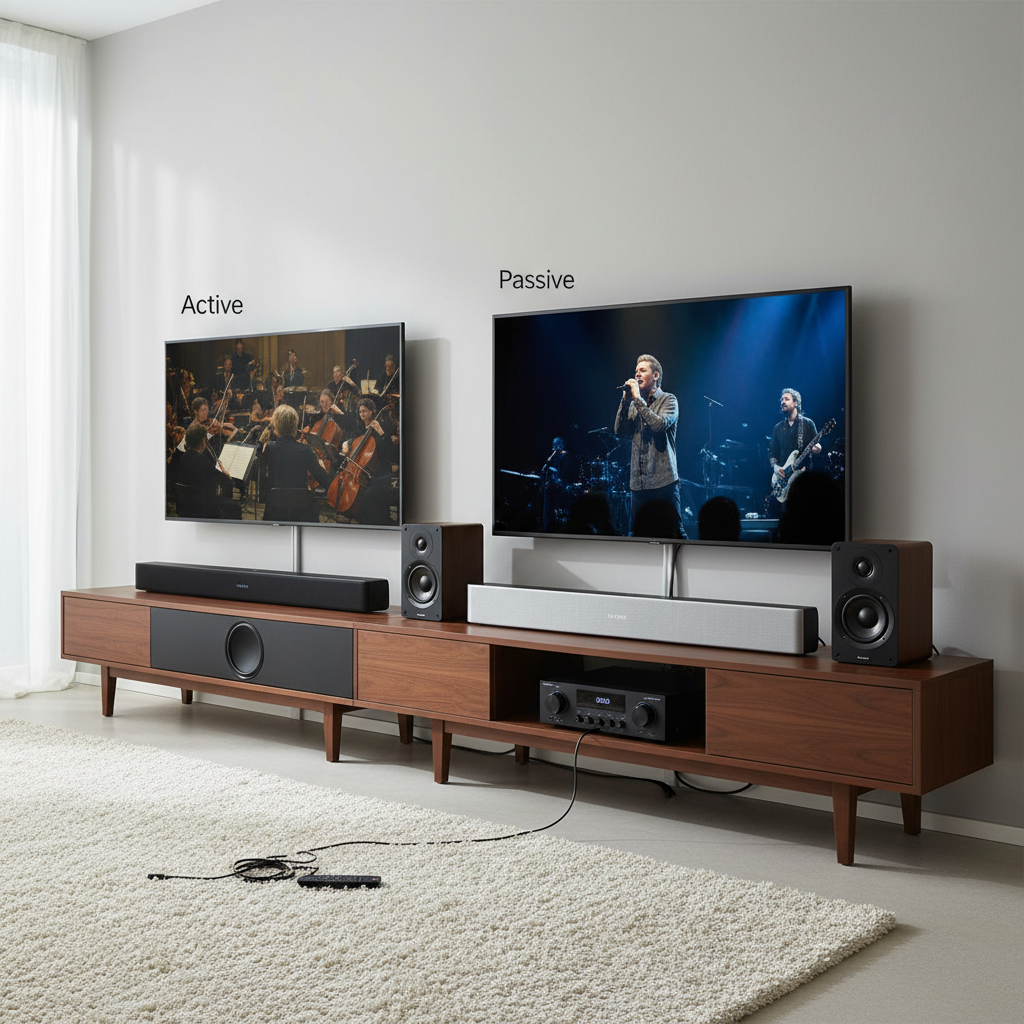
Is your living room’s audio experience falling flat? While modern TVs offer stunning visuals, their built-in speakers often leave much to be desired, pushing sound downwards or to the rear. A soundbar is the perfect solution to dramatically upgrade your home audio, delivering crisp dialogue, immersive soundtracks, and powerful bass. But simply placing it on a TV stand can look cluttered and still not provide the best acoustic performance. Mounting your soundbar directly under your TV is a game-changer, integrating it seamlessly into your setup for both superior sound and a sleek, streamlined aesthetic. This comprehensive DIY guide will walk you through everything you need to know to achieve that professional, high-fidelity look and feel.
Why Mount Your Soundbar Under the TV?
Mounting your soundbar beneath your television isn’t just about aesthetics; it significantly enhances your overall home entertainment experience. When the soundbar is integrated with your TV, the audio image appears to originate directly from the screen, creating a more cohesive and immersive viewing experience.
- Aesthetic Integration and Space-Saving: A mounted soundbar eliminates clutter on your TV stand or media console, creating a cleaner, more minimalist look. It visually merges with your TV, making the sound system appear as one cohesive unit. This is particularly beneficial in smaller rooms where space is at a premium.
- Optimized Audio Direction: When a soundbar is mounted, especially with articulating TV mounts, it moves in unison with the screen. This means the audio is always directed towards your viewing position, ensuring you get the best possible sound quality regardless of your seating angle. Unlike soundbars simply placed on a stand, which can direct sound away from you when the TV swivels, a mounted soundbar guarantees consistent, front-facing audio.
- Enhanced Cable Management: Mounting provides excellent opportunities to hide unsightly cables. By routing power and audio cables behind the TV and through the mount, or even within the wall, you can achieve a truly wire-free appearance, contributing to a polished and professional setup.
Choosing the Right Soundbar Mount for Your Setup
Before you start drilling, selecting the correct type of soundbar mount is crucial. The best choice depends on your TV’s current mounting situation and your personal preferences. There are primarily two methods for mounting a soundbar under your TV: attaching it directly to the TV itself or mounting it to the wall.
TV-Mounted Brackets (Attaching to VESA Holes)
This method involves using universal brackets that attach to the VESA bolt patterns on the back of your TV, often sharing the same mounting points as your existing TV wall mount.
- Benefits:
- Synchronized Movement: The soundbar moves with your TV, which is ideal if you have a full-motion TV mount. This ensures the sound is always directed at you, providing an optimal listening experience from any angle.
- No Additional Wall Holes: This option prevents the need for extra drilling into your wall, preserving its integrity and simplifying the installation process.
- Cleaner Look: Cables can often be routed more discreetly, as they can be tucked behind the TV and its mount.
- Compatibility:
- Your soundbar must have mounting holes on its back or bottom to be compatible with these types of brackets.
- The brackets are designed to work with standard TV VESA patterns and most fixed, tilt, or full-motion TV wall mounts.
- Best for: Articulating TV mounts, renters who cannot drill many holes, and those prioritizing a seamless, integrated look.
|
Our Picks for the Best Soundbar in 2026
As an Amazon Associate I earn from qualifying purchases.
|
||
| Num | Product | Action |
|---|---|---|
| 1 | Bose TV Speaker - Soundbar for TV with Bluetooth and HDMI-ARC Connectivity, All-in-One Compact Soundbar, Includes Remote Control, Black |

|
| 2 | ULTIMEA 2.1ch Surround Sound Bar for TV, Built-in Subwoofer, Peak Power 132W, App Control, 16 Inches Bluetooth 5.4 TV Speakers Soundbar, All-in-one PC Soundbar, Opt/AUX/Wall Mount, Poseidon M20 Pro |
|
| 3 | Sound Bar, 80W SoundBar for Smart TV, Bluetooth 5.3 Soundbars, 2 in 1 Detachable Home Speaker Bass Effect, Home Theater Surround Sound, ARC/Optical/AUX, for TV/PC/Gaming/Projectors (Deep Black) |
|
| 4 | Sony S100F 2.0ch Soundbar with Bass Reflex Speaker, Integrated Tweeter and Bluetooth, (HTS100F), easy setup, compact, home office use with clear sound black |
|
| 5 | Samsung B-Series Soundbar HW B400F 2.0 ch Soundbar with Built in Subwoofer (2025 Model) One Remote Control, Surround Sound Expansion, Voice Enhance Mode |
|
| 6 | Amazon Fire TV Soundbar, 2.0 speaker with DTS Virtual:X and Dolby Audio, Bluetooth connectivity |
|
| 7 | Sound Bar for Smart TV, Soundbar with Bluetooth/ARC/Opt/AUX Connect, Auto Volume Boost, 3 Equalizer Modes, 2 in 1 Detachable Soundbar for TV/PC/Gaming/Projectors |
|
| 8 | ULTIMEA Sound Bar with Wireless Subwoofer, 240W Peak Power, VoiceMX & BassMX, App Control, 2.1ch Soundbar for Smart TV, Adjustable Bass, HDMI, Optical, Bluetooth 6.0, Poseidon M30 (2026 Model) |
|
| 9 | Sonos Arc Ultra Soundbar with Dolby Atmos and Voice Control - 9.1.4 Surround Sound for TV and Music - Black |
|
| 10 | ULTIMEA 5.1CH Surround Sound Bar with Subwoofer, Dolby Atmos, VoiceMX, BassMX, APP, 300W Soundbar for Smart TV, Home Theater Surround Sound System for TV, Bluetooth 5.4, Poseidon M60 (2026 Model) |
|
Wall-Mounted Brackets (Directly to Wall)
This method involves securing the soundbar’s brackets directly to the wall below your television.
- Benefits:
- Simpler for Fixed TVs: If your TV is already wall-mounted in a fixed position, or if it sits on a stand, wall mounting the soundbar can be a straightforward process.
- Flexibility in Placement: Offers more control over the exact distance and height of the soundbar relative to the TV, though it won’t move with the TV.
- Considerations:
- Requires Drilling: You will need to drill holes into your wall to secure the brackets.
- Studs or Anchors: It’s essential to mount into wall studs for maximum security. If studs aren’t available, you’ll need to use appropriate drywall anchors rated for the weight of your soundbar.
- Fixed Position: The soundbar’s position will be static, meaning if your TV swivels, the soundbar won’t follow.
- Best for: Fixed wall-mounted TVs or TVs on a stand, where the primary viewing angle doesn’t change frequently.
Essential Tools for Your DIY Soundbar Mounting Project
Having the right tools on hand will make your DIY soundbar mounting project smoother and safer. Here’s a list of what you’ll likely need:
- Phillips Head Screwdriver: For assembling brackets and tightening screws.
- Drill and Drill Bits: Essential for drilling pilot holes (for wall mounting) or if your soundbar requires specific hardware.
- Stud Finder: Crucial for locating wooden studs behind drywall, ensuring a secure wall mount.
- Level: To ensure your soundbar is perfectly horizontal for optimal sound distribution and aesthetics.
- Measuring Tape: For precise placement and centering.
- Masking Tape/Pencil: For marking drill points and leveling guides on the wall.
- Safety Glasses: Always protect your eyes when drilling.
- Drywall Anchors & Setting Tool (if no stud): If you can’t hit a stud, use heavy-duty drywall anchors rated for your soundbar’s weight.
- Cable Ties or Cable Management Sleeves: For tidying up wires.
- Helper: Especially if you need to remove and re-mount your TV, an extra pair of hands is invaluable for safety.
Step-by-Step Guide: Mounting Your Soundbar to Your TV
This method is ideal for achieving a fully integrated look, especially with articulating TV mounts.
-
Preparation and Safety First:
- Gather all your tools, the soundbar, and the soundbar mount kit.
- Unplug your TV and soundbar from power.
- Lay down a soft blanket or sheet on a clear, flat surface to protect your TV screen if you need to lay it down.
- Familiarize yourself with both your soundbar’s and your mount’s instruction manuals.
-
Attach Soundbar Brackets to Your Soundbar:
- Most universal soundbar mounts come with a pair of brackets that connect directly to the back or bottom of your soundbar.
- Align the brackets with the mounting holes on your soundbar and secure them using the screws provided in the kit. Ensure they are snug but do not overtighten.
-
Carefully Remove Your TV (If Already Mounted):
- If your TV is already on a wall mount, you will likely need to remove it temporarily. This is usually a two-person job.
- Carefully detach the TV from its wall mount and place it face down on your protected surface.
- You may also need to remove the existing TV brackets from the back of the TV, as the soundbar brackets will often integrate with them.
-
Connect Soundbar Brackets to TV Mount/TV:
- The soundbar brackets are designed to attach to the TV’s VESA holes, often by sandwiching between the TV and its existing wall-mount brackets.
- Align the soundbar mount’s interface bracket with the VESA holes on the back of your TV.
- Attach the TV wall mount’s interface bracket over the soundbar mount, using the longer screws often provided with universal soundbar mount kits. Do not fully tighten these screws yet.
- Pro Tip: Some mounts provide spacers to ensure the soundbar aligns perfectly with the TV’s front face, preventing it from jutting out or being too recessed. Use these as directed for a flush look.
-
Adjust Position and Tighten:
- With the brackets loosely attached, carefully hold the soundbar in place, adjusting its height and depth.
- The goal is to position the soundbar as close as possible to the bottom of the TV, ideally with just a minimal air gap (e.g., 1/8 inch or 3-5mm) for aesthetic appeal and to prevent scratching.
- Ensure the soundbar is perfectly centered horizontally beneath the TV using a measuring tape.
- Once in the desired position, tighten all screws and knobs securely.
-
Cable Management for a Seamless Look:
- Before re-mounting the TV, connect all necessary cables (HDMI ARC/eARC, optical, power) to your soundbar and TV.
- Route the cables neatly behind the TV, using zip ties or cable management sleeves to keep them tidy and out of sight. If possible, thread them through your TV wall mount’s arms or channels.
-
Re-mount TV with Soundbar:
- With your helper, carefully lift the TV (now with the soundbar attached) and re-hang it on its wall mount.
- Double-check that all connections are secure and the TV is properly latched onto its mount.
- Plug in your TV and soundbar, power them on, and test the audio.
“A well-mounted soundbar isn’t just about better sound; it’s about creating an uninterrupted visual flow. The less visible the hardware and cables, the more immersed you’ll be in your content.” – Alex Chen, Home Audio Specialist
Step-by-Step Guide: Wall Mounting Your Soundbar Under TV
If your TV is stationary or on a stand, wall-mounting your soundbar can be a straightforward and effective solution.
-
Preparation and Initial Placement:
- Ensure your TV is already in its final position (either wall-mounted or on its stand).
- Gather your tools, soundbar, and the wall-mount kit.
- Unplug your TV and soundbar.
- Decide on the exact vertical placement of your soundbar. Aim for it to be centered horizontally under the TV and as close as possible without blocking the TV’s IR sensor or screen, typically leaving a small gap (1-2 inches) for aesthetics. If your soundbar has upward-firing speakers, ensure there’s enough space above them for sound to reflect properly.
-
Marking Placement and Leveling:
- If your soundbar mount comes with a paper template, use it. Otherwise, hold the soundbar mount (or the soundbar itself, marking its bracket holes) in your desired position below the TV.
- Use a level to ensure the soundbar will be perfectly horizontal.
- Once level, use masking tape to mark the exact drilling points for the mounting screws. Center the soundbar precisely under the TV using your measuring tape.
-
Finding Studs or Using Anchors:
- Use a stud finder to scan the marked drilling points for wall studs. Mounting into a stud provides the most secure installation.
- If you locate studs that align with your mounting holes, mark them.
- If studs are not available at your desired mounting points, you must use appropriate heavy-duty drywall anchors. Ensure these anchors are rated for at least double the weight of your soundbar for safety.
-
Drilling Pilot Holes:
- Using the appropriate drill bit size (consult your mount’s manual for recommendations, or the anchor’s instructions), drill pilot holes at your marked points.
- If drilling into a stud, the pilot hole will be smaller than the screw.
- If using drywall anchors, drill a hole according to the anchor manufacturer’s specifications. Insert the anchors and secure them with a setting tool if required.
-
Securing Wall Brackets:
- Align the soundbar wall brackets with the drilled pilot holes or installed anchors.
- Insert the mounting screws and tighten them securely with your screwdriver or drill. Do not overtighten, especially with anchors, to avoid stripping.
- Use your level one last time on the installed brackets to confirm they are perfectly straight.
-
Connecting Cables and Hiding Wires:
- Connect the necessary audio cables (HDMI ARC/eARC, optical) and power cable to your soundbar.
- Before hanging the soundbar, plan your cable routing. You can use adhesive cable channels painted to match your wall, or if you’re comfortable with minor drywall work, consider an in-wall cable management kit for a completely hidden look. Zip ties can also bundle cables neatly behind the soundbar.
-
Attaching Soundbar:
- Carefully lift your soundbar and attach it to the wall brackets. Many brackets have a hook-and-slot design or small screws to secure the soundbar in place.
- Ensure the soundbar is firmly seated and secure.
- Connect the other ends of your audio and power cables to the TV and power outlet.
Pro Tips for a Perfect Installation
- Mind the Gap (and Face Alignment): Aim for a small, consistent gap between the TV and soundbar. If your soundbar is deeper than your TV, use spacers (often included with mounts) to bring the soundbar’s front face flush with the TV screen for a more integrated appearance.
- Upward-Firing Speakers Need Room: If your soundbar features Dolby Atmos or DTS:X with upward-firing speakers, ensure there’s enough clearance (typically 4-6 inches) between the top of the soundbar and the bottom of your TV or ceiling for the sound to reflect effectively.
- Don’t Rush, Get a Helper: Mounting a soundbar, especially if it involves removing and re-mounting a TV, is easier and safer with two people. Take your time, double-check measurements, and don’t hesitate to consult the manuals.
- Test Before Finalizing: Before tightening everything down completely or hiding all your cables, connect your soundbar and TV, power them on, and test the audio. Make sure everything works as expected.
- Cable Management is Key: Invest a little extra time in cable management. Hidden cables dramatically improve the final look of your setup.
Conclusion
Mounting your soundbar under your TV is one of the most impactful DIY projects you can undertake to enhance your home entertainment system. It not only frees up valuable space and creates a cleaner, more aesthetically pleasing environment but, more importantly, it optimizes your audio experience by directing sound precisely where it needs to be. By following these detailed steps, choosing the right mount, and paying attention to small details like cable management and precise alignment, you can achieve a professional-looking and sounding setup that transforms your movie nights, gaming sessions, and music listening.
Ready to transform your living room into an audio-visual sanctuary? What kind of soundbar setup are you dreaming of creating?
Câu Hỏi Thường Gặp
Can I mount any soundbar under any TV?
Most soundbars with mounting holes on the back or bottom can be mounted under a TV using universal soundbar brackets. These brackets typically attach to the TV’s VESA mounting holes. Always check your soundbar’s specifications and the mount’s compatibility with both your soundbar and TV’s VESA pattern before purchasing.
Do I need to drill into a stud to wall mount my soundbar?
While mounting into a wall stud provides the most secure installation, it’s not always strictly necessary for soundbars. Most soundbars are relatively light, so heavy-duty drywall anchors, properly installed and rated for the soundbar’s weight, can be sufficient if studs are unavailable.
How much space should be between the TV and the soundbar?
A small, consistent gap (e.g., 1/8 inch to 2 inches) is generally recommended for aesthetics and to prevent the soundbar from scratching the TV. If your soundbar has upward-firing speakers (for Dolby Atmos), ensure there’s enough clear space (e.g., 4-6 inches) above the speakers for sound reflection.
Can I mount a soundbar under a TV that is on a stand?
Yes, universal soundbar mounts are available that attach to the TV’s VESA holes even if the TV is on its original stand. This provides a clean, integrated look without needing to drill into your wall.
How do I hide the cables after mounting my soundbar?
There are several ways to hide cables: using adhesive cable channels painted to match your wall, employing zip ties or cable management sleeves to bundle and tuck cables behind the TV, or for a completely hidden look, installing an in-wall cable management kit.